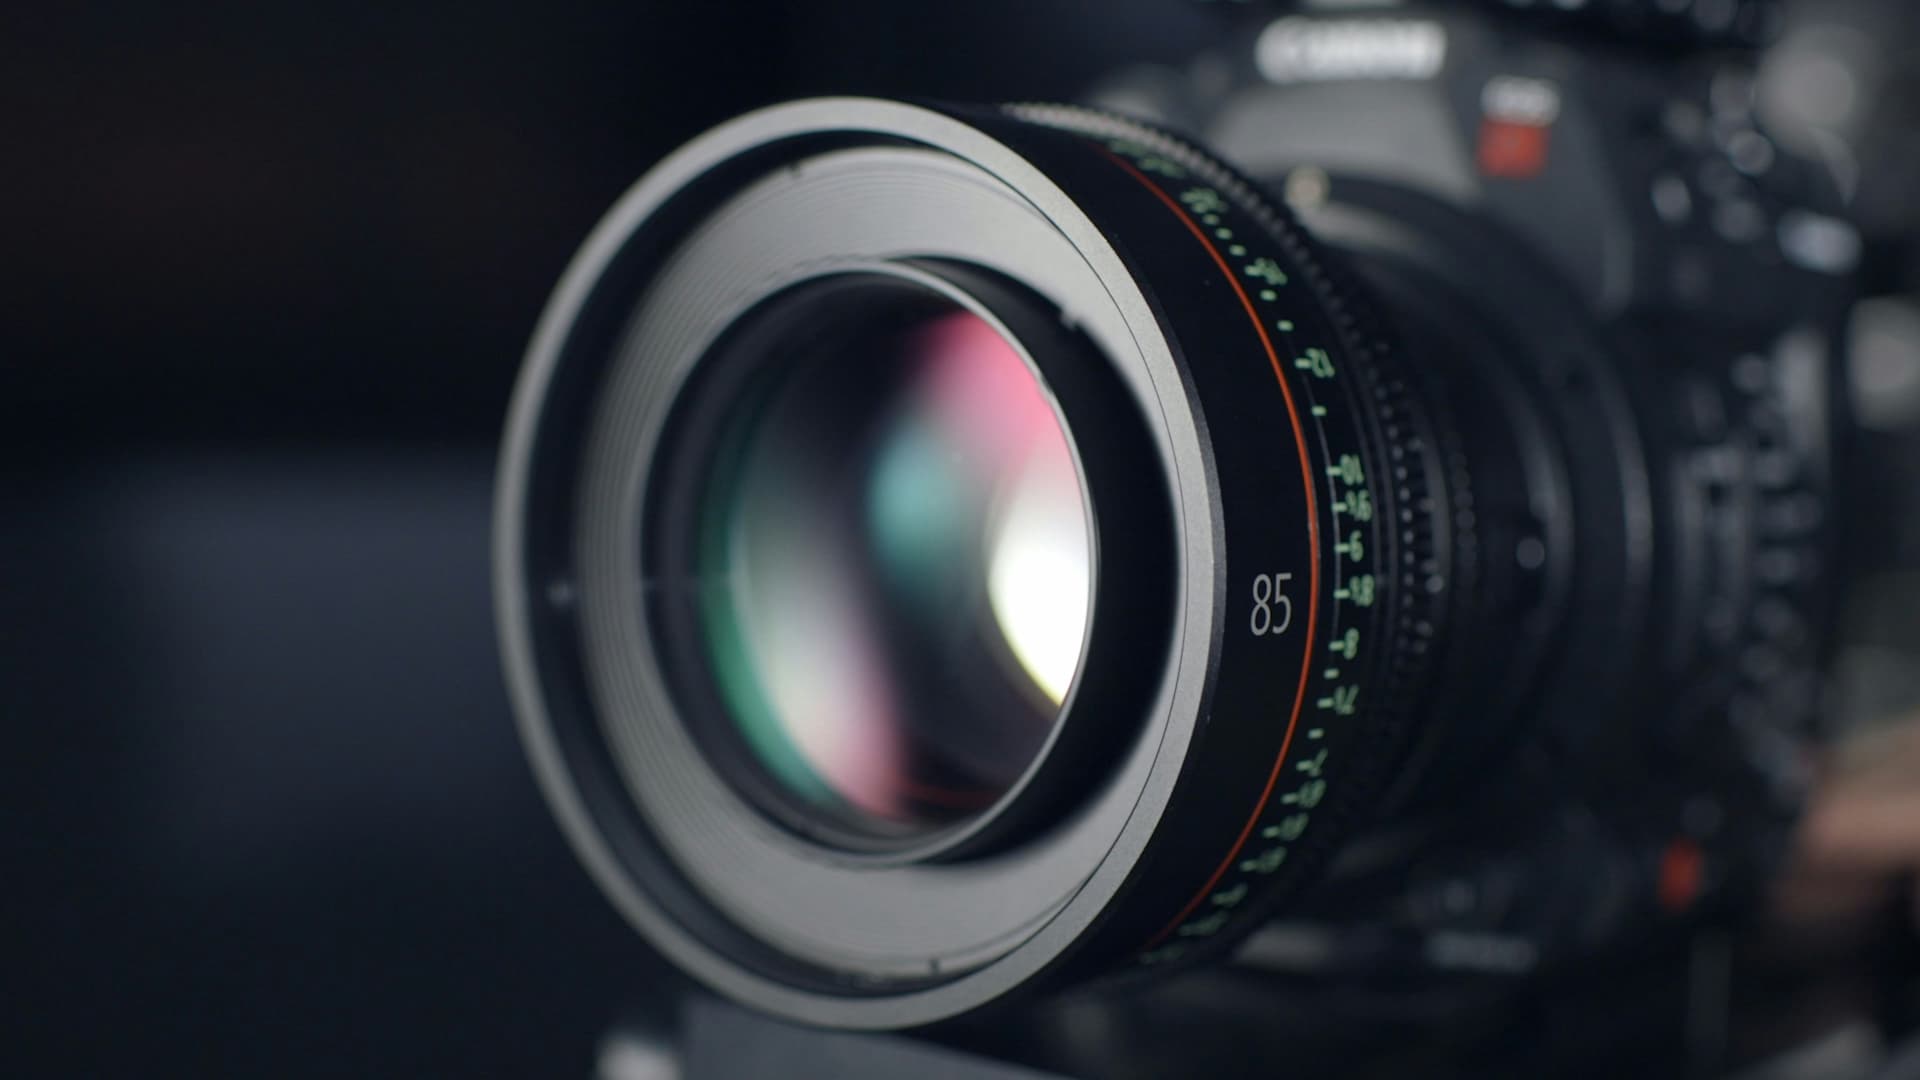
EXIF, the full name of which is Exchangeable Image File Format, is a standard for recording additional information about photos. It is mainly used in image files taken by digital cameras and mobile phones (such as JPEG and HEIF).
Simply put, EXIF is the “metadata” of a photo, which records various parameters when it was taken.
Common EXIF information
Type
Example
Equipment
Camera brand (Canon, Nikon), model
Parameters
Shutter speed, aperture, ISO, focal length
Time
Shooting time (accurate to seconds)
Location
GPS Coordinates (if location tracking is enabled on the device)
Image Information
Resolution, orientation (rotation angle)
Software Information
The name and version number of the software used for post-editing
EXIF usage
Photographic analysis:Photographers can analyze photo parameters and optimize shooting techniques.
Automatic rotation:The system or website can display the photo correctly based on the orientation information in EXIF.
Map markers:If GPS information is available, the photo can be located on a map.
Copyright tracing:Some images may contain information about the author.
Why do I need EXIF
As an “amateur photographer”, I hope my photos can show some shooting parameter information, which will be more convenient for people who want to understand them.
Such as
SONY ILCE-7CM2TAMRON E 28-200mm F2.8-5.6 Di III A071ISO 25099mmƒ6.31/3200 s
Apple iPhone 15 Pro MaxTelephoto Camera — 120 mm ƒ2.8ISO 50120mmƒ2.81/1271 sHDR
How to read EXIF
As a front-end developer, I vaguely remember the npm packages for reading exif: exifreader and exif-js. Although I am used to writing in JavaScript, JavaScript is limited by its operating environment and has limited capabilities. For example, the file types that exifreader supports reading are as follows:
File type
Exif
IPTC
XMP
ICC
MPF
Photoshop
MakerNote
Thumbnail
Image details
JPEG
yes
yes
yes
yes
yes
some*
some**
yes
yes
TIFF
yes
yes
yes
yes
???
some*
some**
N/A
N/A
PNG
yes
yes
yes
yes
???
???
some**
no
yes
HEIC/HEIF
yes
no
yes
yes
???
???
some**
yes
no
AVIF
yes
no
yes
yes
???
???
some**
yes
no
WebP
yes
no
yes
yes
???
???
some**
yes
yes
GIF
N/A
N/A
N/A
N/A
N/A
N/A
N/A
N/A
yes
How could a photographer only have these few photo file types? Turning to Swift naturally solves these troubles. After all, MacOS is the OS that natively supports the most multimedia file types, no one else.
// Get the information of the auxiliary layer (Gain Map) (taking HEIC as an example) iflet heifDict = imageProperties[kCGImagePropertyHEIFDictionary] as? [CFString: Any] { if heifDict["GainMap"asCFString] !=nil { // print("Image has Gain Map") returntrue } }
// Or try to judge by the attachment of the image source ifCGImageSourceCopyAuxiliaryDataInfoAtIndex(imageSource, 0, kCGImageAuxiliaryDataTypeHDRGainMap) !=nil { returntrue } returnfalse }
guard let properties =CGImageSourceCopyPropertiesAtIndex(imageSource, 0, nil) as? [CFString: Any] else { print("Unable to extract metadata") returnnil }
let tiff = properties[kCGImagePropertyTIFFDictionary] as? [CFString: Any] let exif = properties[kCGImagePropertyExifDictionary] as? [CFString: Any] // Get the Apple-specific metadata dictionary
// Use officially supported fields let originalLens = exif?[kCGImagePropertyExifLensModel] as?String
let make = (tiff?[kCGImagePropertyTIFFMake] as?String??"").trimmingCharacters( in: .whitespaces) let model = (tiff?[kCGImagePropertyTIFFModel] as?String??"").trimmingCharacters( in: .whitespaces)
let iso = exif?[kCGImagePropertyExifISOSpeedRatings] as? [Int] ?? [] let focalLength = (exif?[kCGImagePropertyExifFocalLenIn35mmFilm] as?NSNumber)?.doubleValue ?? (exif?[kCGImagePropertyExifFocalLength] as?NSNumber)?.doubleValue let aperture = exif?[kCGImagePropertyExifFNumber] as?Double let shutterSpeedValue = exif?[kCGImagePropertyExifExposureTime] as?Double let exposureBias = exif?[kCGImagePropertyExifExposureBiasValue] as?Double
// Define lens replacement map let lensReplacementMap: [String: String] = [ "iPhone 15 Pro Max back camera 2.22mm f/2.2": "Ultra Wide Camera — 13 mm ƒ2.2", "iPhone 15 Pro Max back camera 6.765mm f/1.78": "Main Camera — 24 mm ƒ1.78", "iPhone 15 Pro Max back camera 15.66mm f/2.8": "Telephoto Camera — 120mm ƒ2.8", // Add more replacements here: "iPhone 15 Pro Max back triple camera 2.22mm f/2.2": "Ultra Wide Camera — 13 mm ƒ2.2", "iPhone 15 Pro Max back triple camera 6.765mm f/1.78": "Main Camera — 24 mm ƒ1.78", "iPhone 15 Pro Max back triple camera 15.66mm f/2.8": "Telephoto Camera — 120mm ƒ2.8" ]
// Apply replacement if found, otherwise use the original lens string let lens = originalLens.flatMap { lensReplacementMap[$0] } ?? originalLens
// Check for HDR let isHDR: Bool= checkImageIsHDR(for: fileURL)
// Constructing output format var parts: [String] = [] if!make.isEmpty ||!model.isEmpty { parts.append("\(make)\(model)") } iflet isoValue = iso.first { parts.append("ISO \(isoValue)") } iflet fl = focalLength { parts.append("\(Int(round(fl))) mm") } iflet ap = aperture { parts.append("ƒ\(String(format: "%.1f", ap))") } iflet ss = shutterSpeedValue { if ss >=1.0 { parts.append("\(Int(ss)) s") } else { let denominator =Int(round(1.0/ ss)) parts.append("1/\(denominator) s") } } iflet ev = exposureBias { ifabs(ev) <0.001 { parts.append("") } else { parts.append("\(String(format: "%+.1f", ev)) ev") } } iflet lens = lens { parts.append("\(lens)") } // Append HDR tag if the image is HDR if isHDR { parts.append("HDR") }
return parts.map { "{\($0)}" }.joined() }
// Main Program Entry let args =CommandLine.arguments guard args.count >=2else { print("Usage: readExif.swift <image path>") exit(1) }
let filePath = args[1] let fileURL =URL(fileURLWithPath: filePath)
Example output: {Apple iPhone 15 Pro Max}{ISO 100}{7mm}{ƒ1.8}{1/22222 s}{}{Main Camera — 24 mm ƒ1.78}
Why is it in this order and format? Because I designed the display order in this blog theme. The lens parameters are at the end because I wanted to add them later.
Lens name conversion
The lens focal length read out by EXIF is converted into the real focal length of the 35mm frame, which seems very unintuitive, so we need to do some mapping so that the returned result is the same as that displayed in Photos.
The parameters of the three lenses of iPhone 15 Pro Max correspond to:
1
2
3
4
5
6
7
8
9
{
    "iPhone 15 Pro Max back camera 2.22mm f/2.2": "Ultra Wide Camera — 13 mm ƒ2.2",
    "iPhone 15 Pro Max back camera 6.765mm f/1.78": "Main Camera — 24 mm ƒ1.78",
    "iPhone 15 Pro Max back camera 15.66mm f/2.8": "Telephoto Camera — 120mm ƒ2.8",
    // Add more replacements here:
    "iPhone 15 Pro Max back triple camera 2.22mm f/2.2": "Ultra Wide Camera — 13 mm ƒ2.2",
    "iPhone 15 Pro Max back triple camera 6.765mm f/1.78": "Main Camera — 24 mm ƒ1.78",
    "iPhone 15 Pro Max back triple camera 15.66mm f/2.8": "Telephoto Camera — 120mm ƒ2.8"
}